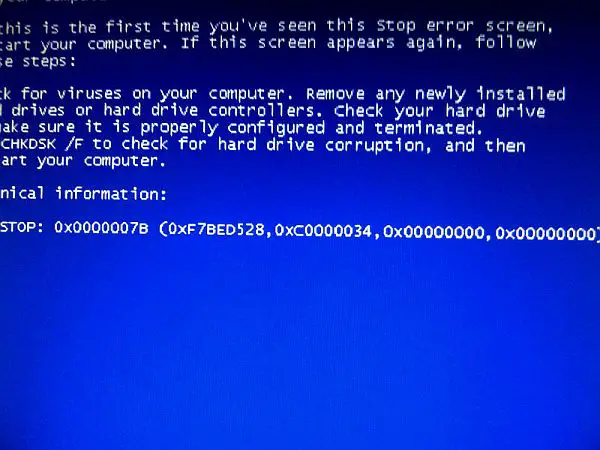
Are you getting that blue screen (BSOD) with error message 0x0000007b when booting your computer or trying to install a new Windows operating system (on a computer with SSD drive)?
The problem is that in BIOS your SATA is set to AHCI instead of ATA. To fix this problem you’ll have to enter the BIOS and change it back and your system will function normally. This can happen if your BIOS data is lost or in some cases the BIOS batter is empty, or if you cleared bios by hand. Don’t worry none of your data is damaged in any of these cases.
Here’s how to fix this problem:
Reboot your computer and keep pressing F12 to enter BIOS. On some laptops it’s F2 or F8 (it should be shown on your screen)
Go to Advanced tab and change ACHI to ATA option under SATA Operation (it might have a different name depending on your BIOS).
Microsoft Windows applications developed using .NET Framework require Microsoft .NET Framework to be installed on computer that will run the application. Microsoft provides installer for .NET Framewework but by default it’s an online installer. That means that you basically download a small installer file that after it’s executed automatically connects to Microsoft servers and downloads the required components and completes the installation.
The online installers work great as long as you have internet conection. But some users don’t have an internet connection and that can be a problem. Sometimes developers require offline installer so they can ship it with the software inside software installation or on CD/DVD medium.
I have gathered a set of links of Microsoft .NET Framework offline installers and you can download full installation files from the following links:
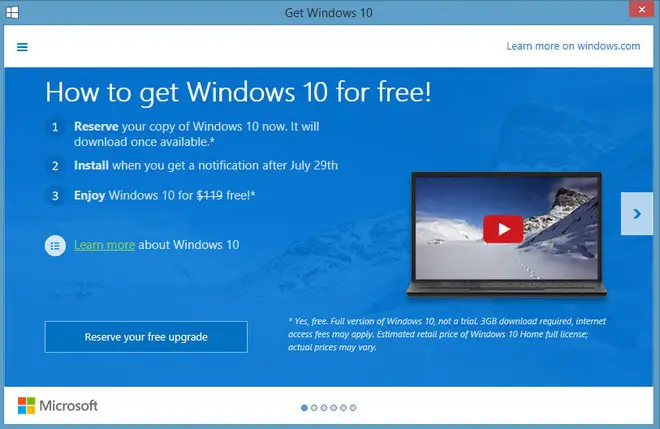
If you run Windows 7, Windows 8 or Windows 8.1 you probably got an offer to upgrade to Windows 10 and you noticed that upgrade icon in task bar to your clock.
If you don’t want to upgrade to Windows 10 and you want to keep your current Windows and you’d like to get rid of that GWX.exe nag screen and taskbar icon run cmd as administrator by typing in cmd in start menu search and right clicking the Command Prompt result and clicking on Run as administrator and confirming that you want to run command prompt as admin.
When you get that black command prompt window just type (copy/paste) the following command and once it’s executed reboot your computer and Windows 10 upgrade will be gone. Out of many this is the only solution that actually worked for me!
One more thing I also noticed is that even if you’re not interested in upgrade Microsoft still downloads entire Windows 10 installation and stores it in c:/$windows.~BT folder just in case you say “yes” to their upgrade offer. That folder can take from 2 to 3 GB of your disk space and it’s especially valuable if you have (a smaller) SSD as your primary hard drive. Removing the folder frees up the space but quickly (after a reboot) it starts downloading it again so it doesn’t just take your disk space but also uses your internet bandwidth. To stop it from doing that after you delete folder $windows.~BT create a new empty one with the same name and then right-click it and in folder properties make it Read Only. That way it will remain empty as Windows will not be able to download Windows 10 files and store them in it.
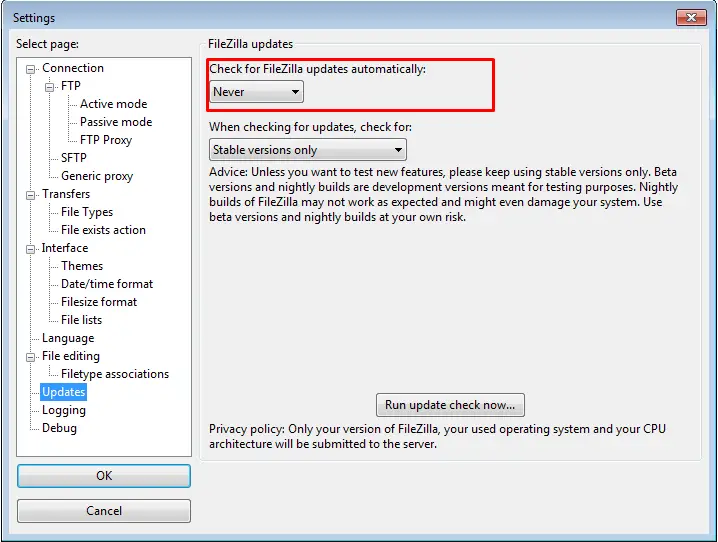
I use FileZilla a lot and I start it like ten times a day or even more. Every time it starts I get that screen that asks me to update FileZilla to latest version, but since I’m using portable version of it it’s almost impossible to do so since portable versions are often delayed etc. The same nag screen is there with the non-portable version of FileZilla and sometimes you simply don’t want to upgrade.
Disabling updates in settings simply doesn’t work and will remind you that there is an update even if this is disabled every time you start it.
To solve the problem first make sure that FileZilla is closed. Then locate it’s config file at: ..\appdata\roaming\filezilla\filezilla.xml or for portable version located at: ..\data\settings\filezilla.xml.
Open that file for editing (use some advanced editor like Notepad++ or Sublime) locate the line with value starting with: <Setting name=”Update Check New Version”> and delete that entire line.
Save the changes. And that’s it. Now you can use your FileZilla (or FileZilla Portable) without that update nag screen and you can choose whether you want to update it and when.
I guess I drag ‘n’ drop Computer Management from Control Panel/Administrative Tools to desktop and then (later) deleted the icon from Desktop.
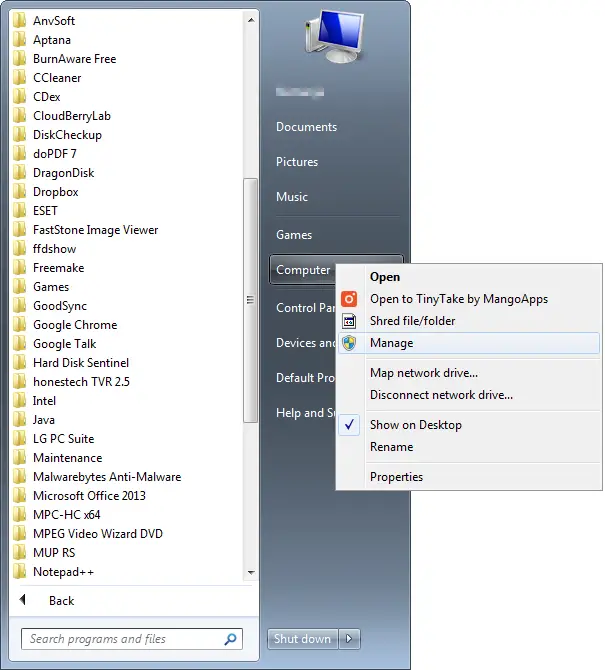
Now, when I go to Control Panel -> Administrative Tools icon Computer Management is missing and also when I want to start Computer Management by right clicking on Computer in start menu and selecting Mange (like on a picture below):
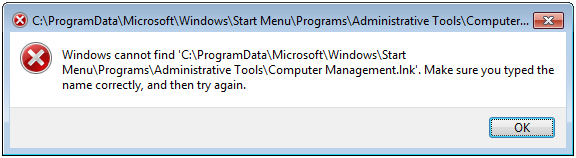
I get the following error message: Windows cannot find ‘C:\ProgramData\Microsoft\Windows Start\Programs\Administrative Tools\Computer Management.lnk’. Make sure you typed the name correctly, and then try again.
The solution to this problem is to simply restore the missing link. To do so follow the following four steps:
1. Right click on blank area of Desktop and choose New -> Shortcut.
2. Type the following location in: %windir%\system32\compmgmt.msc /S and press Enter
3. Type a name for this article such as Computer Management. Click Finish.
4. Copy this shortcut and paste to C:\ProgramData\Microsoft\Windows\Start Menu\Programs\Administrative Tools folder.
Now the icon should be restored to Administrative Tools and you can access it by clicking Manage on Computer in Start Menu.